Coloring Tips for Beginners: Basics & Simple Techniques
Resources
Adult coloring is for absolutely everyone — not just artists. This page walks you through the basics in a gentle, practical way so you can relax, enjoy your pages, and feel proud of what you create, even if you are just starting out.
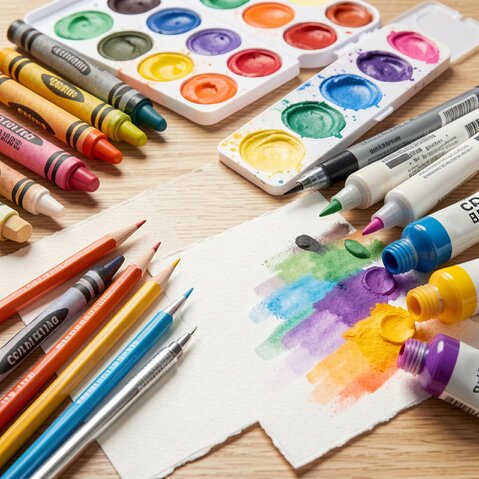
You do not need a fancy art kit to start coloring. A simple set of colored pencils and a few printed pages are more than enough. Below you will find a quick comparison to help you choose what feels best for you right now.
| Tool | How it Feels | Best For | Things to Know |
|---|---|---|---|
| Colored pencils | Soft, controllable, easy to erase lightly | Most beginner pages, details, gentle shading | Work on almost any paper; start with a basic 12–24 color set. |
| Markers | Bold, smooth, very bright color | Large areas, simple shapes, bold designs | Can bleed through thin paper; place scrap paper underneath your page. |
| Gel pens | Inky, shiny, sometimes metallic or glittery | Small accents, titles, borders, finishing touches | Ink can smear if touched too soon; let it dry a bit before closing your book. |
| Crayons | Waxy, nostalgic, chunky to hold | Coloring with kids, loose and playful pages | Less precise for tiny details, but great for relaxing and sharing with family. |
| Water colors | water based color smooth to apply | highlights, shading, adding
Pearlescence colors | will bleed through thin paper, need to allow to dry first. |
Color choices can feel overwhelming at first, so keep things simple. Try choosing just 3–5 colors and using them across the whole page. Look for inspiration in nature (a flower, a sunset, a favorite mug), in photos you love, or in ready-made color palettes online. If you are unsure, start with: one dark color, one medium color, one light color, plus a neutral like gray or brown to balance everything.
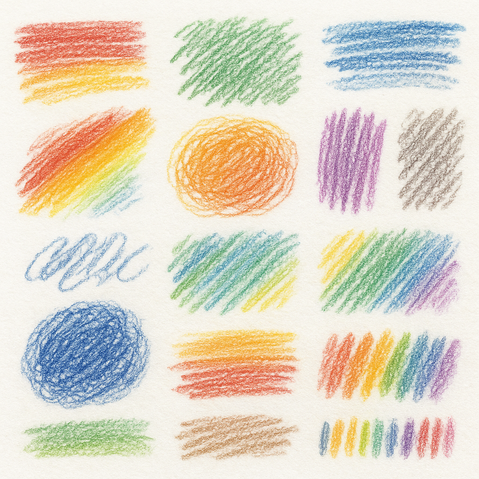
Use these simple techniques to make any page look smoother and more polished:
1. Flat color
Color lightly in one direction to fill a shape evenly. Lift your pencil or marker at the edges and slow down around corners.
2. Layering
Add a second light layer of the same color to deepen it. For colored pencils, use small, gentle circles instead of pressing harder.
3. Light shading
Decide where your light is coming from. Press a bit harder on the side away from the light and keep the lighter side soft. Blend the middle by using medium pressure.
4. Simple gradients
Start with Color A on one side, then switch to Color B on the other side. In the middle, overlap both colors with light pressure until the line between them looks soft.
5. Tiny details
Use a sharp pencil or fine pen for small patterns. Color larger areas first and add details at the very end so they stay crisp.
Coloring is meant to feel like a small break for your mind. Sit where your back feels supported, keep your shoulders soft, and use lighting that does not strain your eyes. Take slow breaths, pause to stretch your hands, and remember there is no “perfect” page — every line and color choice is part of your relaxing practice. If you would like to go deeper into using coloring for stress relief, you can explore our dedicated guide after this page.
Everyone makes the same few mistakes when they start — and they are all easy to fix:
Pressing too hard
This makes lines scratchy and hard to blend. Fix: color with light to medium pressure and build up color in gentle layers instead of one heavy layer.
Muddy colors
Too many mixed colors can look dull. Fix: limit each area to 2–3 colors and add a clean neutral (like white, gray, or tan) instead of more bright colors.
Streaky marker lines
Back-and-forth strokes can leave bands. Fix: color in the same direction and slightly overlap your strokes while the ink is still wet.
Going outside the lines
Hands need time to get steady. Fix: slow down around edges, turn the page so your hand moves comfortably, and outline first with a sharp pencil before filling in.
Comparing your pages to others
This can steal your joy. Fix: focus on how relaxed you feel while coloring, not on matching anyone else’s style.
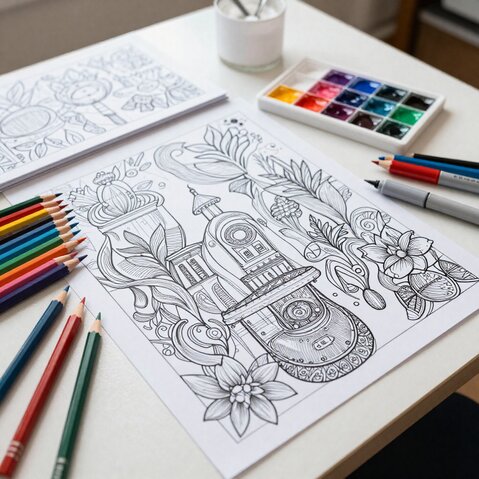
Choose one simple page and treat it as a mini practice project. First, pick a small color palette. Then try flat color, layering, and a little shading on just a few leaves, petals, or shapes. When you feel ready for more, explore a new page from our Freebies library, or practice on beginner-friendly designs from our printable books and ebooks.